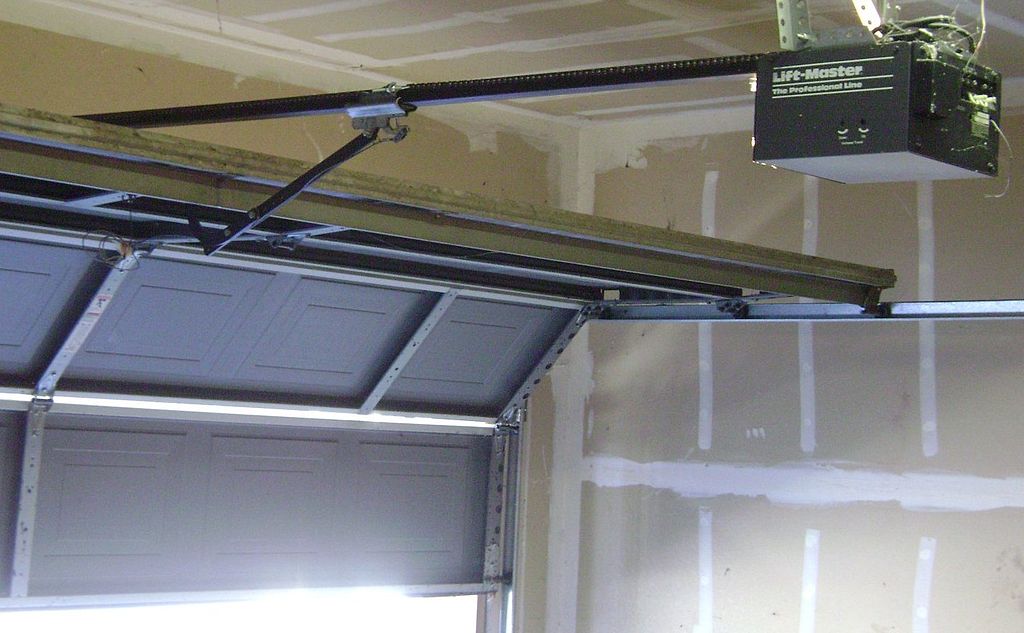
Garage doors play a crucial role in our daily lives, providing convenience and security. One of the key components responsible for the smooth operation of garage doors is the torsion spring. Over time, these springs may wear out, leading to the need for replacement. While replacing a torsion spring is a common maintenance task, it’s essential to approach it with caution to ensure safety. In this guide, we’ll walk you through the process of safely replacing a torsion spring in garage doors.
Understanding Torsion Springs
Torsion springs are tightly wound coils that store mechanical energy when twisted. They are mounted horizontally above the garage door and unwind to lift the door. Due to the high tension involved, replacing torsion springs requires careful attention to safety procedures.
Safety First
Before attempting to replace a torsion spring, prioritize safety. Torsion springs are under significant tension, and mishandling them can result in serious injury. Here are key safety measures to keep in mind:
- Use Protective Gear:
Wear safety glasses to protect your eyes from any debris or spring fragments that may be released during the replacement process. Additionally, consider wearing gloves to safeguard your hands. - Release Tension:
Before removing the old spring, release the tension in the existing spring. This is a critical step to prevent the sudden and uncontrolled release of energy. Use a winding bar to carefully unwind the spring. - Secure the Door:
Ensure that the garage door is securely in the down position before starting the replacement. This reduces the risk of the door falling unexpectedly during the process. - Use the Right Tools:
Use the appropriate tools for the job, such as winding bars and a sturdy ladder. Avoid using makeshift tools, as they can compromise your safety.
Step-by-Step Guide to Replacing Torsion Springs
Now, let’s walk through the step-by-step process of safely replacing a torsion spring in a garage door:
- Measure and Identify:
Measure the length of the existing torsion spring and determine its wire size. This information is crucial for selecting the correct replacement spring. - Order the Right Replacement:
Once you have the measurements, order a replacement torsion spring that matches the specifications of the old one. It’s essential to use the correct size and type to ensure proper functioning. - Release Tension from the Old Spring:
Use winding bars to carefully release tension from the old torsion spring. Insert the winding bars into the winding cone and unwind the spring in a controlled manner. - Remove the Old Spring:
Once the tension is released, carefully remove the old torsion spring. Exercise caution, as the spring may still have residual tension. - Install the New Spring:
Install the new torsion spring in the same orientation as the old one. Make sure the winding cone is properly secured, and wind the spring with the winding bars. - Check Tension:
After installing the new spring, check the tension by lifting the door manually. Ensure that the door is balanced and moves smoothly. - Adjust as Needed:
Fine-tune the tension as needed. It may take some adjustments to achieve the optimal balance and performance. Follow the manufacturer’s recommendations for adjustments. - Test the Door:
Test the garage door by opening and closing it several times to ensure smooth operation. Pay attention to any unusual sounds or movements that may indicate issues.
While replacing a torsion spring in a garage door is a manageable task, it requires careful attention to safety and precision. Following the outlined safety measures and step-by-step guide can help you undertake the replacement process with confidence. However, if you are unsure or uncomfortable with the task, it’s advisable to seek the assistance of a professional garage door technician. Remember, safety should always be the top priority when dealing with garage door components under tension. Regular maintenance and timely replacement of torsion springs contribute to the longevity and efficiency of your garage door system.


