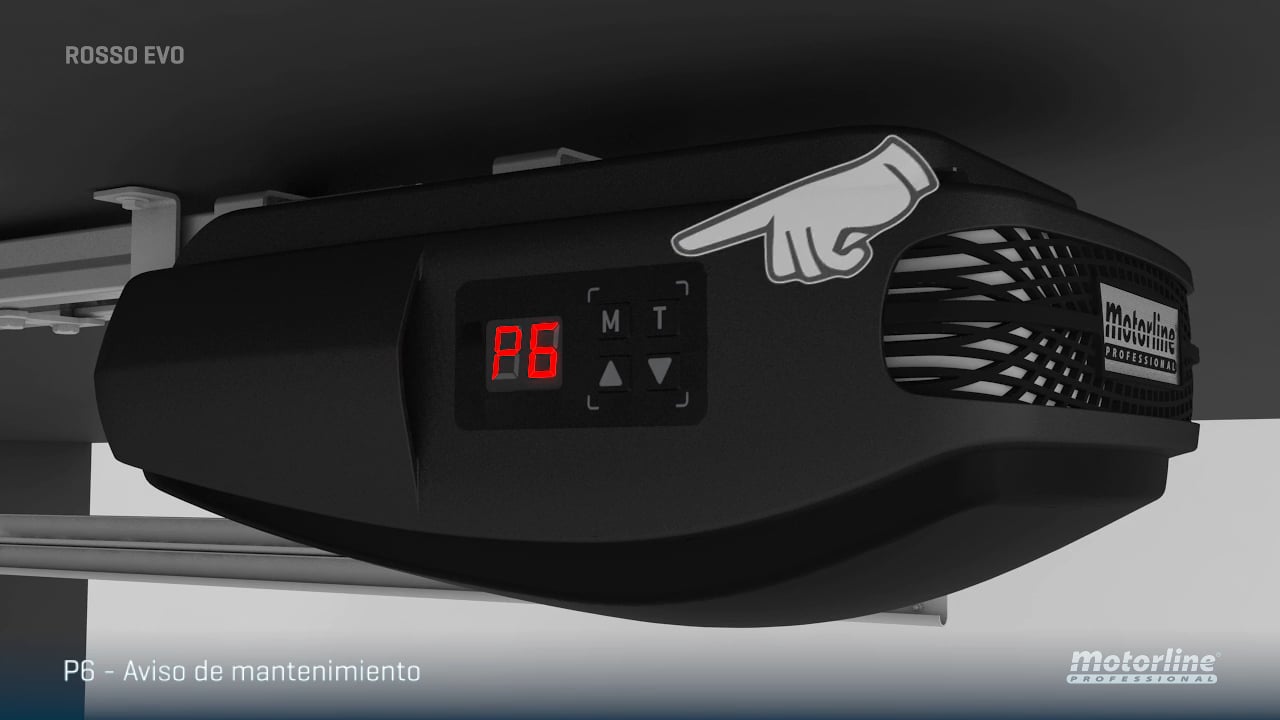
Reprogramming your garage door remote is a straightforward process that can resolve issues with signal disruptions, lost connections, or the need to sync a new remote. Whether you’ve recently purchased a new remote control or are experiencing problems with your current one, this step-by-step guide will walk you through the process of reprogramming your garage door remote for seamless operation.
1. Locate the “Learn” Button:
Most modern garage door openers have a “Learn” or “Program” button on the main unit. This button is usually located near the back of the opener and may be labeled as such or indicated by an icon. Refer to your garage door opener’s manual if you’re having trouble finding it.
2. Clear Existing Programming (if necessary):
Before adding a new remote, it’s advisable to clear any existing programming. Press and hold the “Learn” button on the opener until the indicator light begins to flash. This step ensures that the opener is ready to accept new programming.
3. Press the “Learn” Button:
Once the opener is in programming mode, press the “Learn” button. The indicator light on the opener should start blinking, indicating that it’s now prepared to receive the signal from the remote.
4. Press a Button on the Remote:
Within 30 seconds of pressing the “Learn” button, press and hold the button on the remote control that you wish to program. Continue holding the button until you see the indicator light on the opener flash, acknowledging the successful programming.
5. Test the Remote:
After programming, test the remote by pressing the programmed button. The garage door should respond by either opening or closing, depending on the button you pressed. If the door does not respond, repeat the programming process.
6. Repeat for Additional Remotes (if necessary):
If you have multiple remotes to program, repeat the process for each one. Ensure that you complete the programming within the 30-second window after pressing the “Learn” button on the opener.
7. Confirm Programming:
To confirm that the programming was successful, test each programmed remote to ensure it operates the garage door as intended. This step ensures that all remotes are synchronized with the opener.
8. Secure the Remote Code (Optional):
For enhanced security, some garage door openers allow you to set a unique code for your remote. Check your opener’s manual for instructions on setting a secure code, preventing unauthorized access.
Conclusion:
Reprogramming your garage door remote is a simple process that enhances the efficiency of your garage door opener. By following these step-by-step instructions, you can successfully program your remote control, ensuring smooth and reliable operation. If you encounter difficulties or if the problem persists, consult your garage door opener’s manual or seek professional assistance to troubleshoot and address any underlying issues.


